For healthcare professionals, mastering the skill of inserting an intravenous (IV) cannula with precision is fundamental. In this comprehensive guide, brought to you by Denex International, a trusted IV Cannula Manufacturer, we explore the intricacies of the process, providing A Step-by-Step Guide on How to Insert IV Cannula with Ease to ensure a smooth and successful insertion.
A Step-by-Step Guide on How to Insert IV Cannula with Ease
Step 1: Preparation
Before initiating the insertion procedure, gather all necessary supplies. This includes a sterile IV cannula kit, gloves, antiseptic solution, a tourniquet, and an appropriate dressing. Ensuring all materials are readily available sets the stage for a seamless process.
Step 2: Patient Preparation
Communication is key. Explain the procedure to the patient, addressing concerns and obtaining informed consent. Position the patient comfortably, usually with the arm extended and the chosen vein accessible and visible. Creating a calm and informed environment contributes significantly to the patient’s experience.
Step 3: Hand Hygiene and Gloving
Maintain strict hygiene standards by washing hands thoroughly. Wear sterile gloves to prevent contamination during the procedure. This step is crucial in preventing infections and ensuring the safety of both the patient and the healthcare provider.
Step 4: Tourniquet Application
Apply the tourniquet a few inches above the intended insertion site. Ensure it is snug enough to engorge the vein but not excessively tight. This enhances vein visibility and accessibility.
Step 5: Site Cleansing
Cleanse the insertion site with an antiseptic solution. Use a circular motion, starting from the center and moving outward. Allow the area to dry completely to minimize the risk of introducing bacteria into the bloodstream.
Step 6: Stabilize the Vein
Stabilize the vein by applying gentle traction below the intended insertion site. This minimizes movement during cannulation and ensures a steady target for successful insertion.
Step 7: Cannula Selection
Select an appropriate-sized cannula based on the patient’s condition and the prescribed therapy. Consider the viscosity of the administered fluids and the state of the patient’s veins when choosing the cannula size.
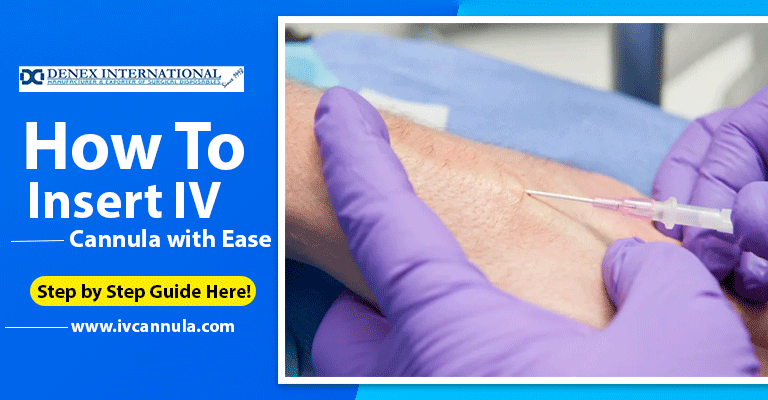
Step 8: Insertion Technique
Hold the cannula at a 15 to 30-degree angle and insert it into the vein with a smooth, controlled motion. Ensure the slope is facing up to minimize trauma to the vessel. Maintain a steady hand and a calm pace to enhance accuracy.
Step 9: Confirm Blood Return
After inserting the cannula, gently pull back on the syringe plunger to confirm blood return. This step verifies that the cannula is successfully placed within the vein, assuring proper vascular access.
Step 10: Secure and Dress the Site
Stabilize the cannula by applying an adhesive dressing. Ensure the sauce is secure but not too tight, allowing for proper airflow and easy monitoring of the insertion site. Good dressing is vital for preventing complications and ensuring the longevity of the cannula.
Step 11: Sharps Disposal and Documentation
Safely dispose of used sharps according to established protocols. Document the procedure in the patient’s medical record, noting the date, time, cannula size, and relevant patient responses. Accurate documentation is crucial for continuity of care and patient safety.
Read Also: Choosing the Right IV Cannula Size for Blood Transfusion
Conclusion:
Mastering the art of IV cannula insertion is a crucial skill for healthcare professionals. By following this step-by-step guide from Denex International, a leading IV Cannula Manufacturer, practitioners can enhance their proficiency, ensuring a seamless and successful procedure for optimal patient care. Always adhere to best practices and guidelines to maintain the highest safety and efficacy standards in IV cannulation.